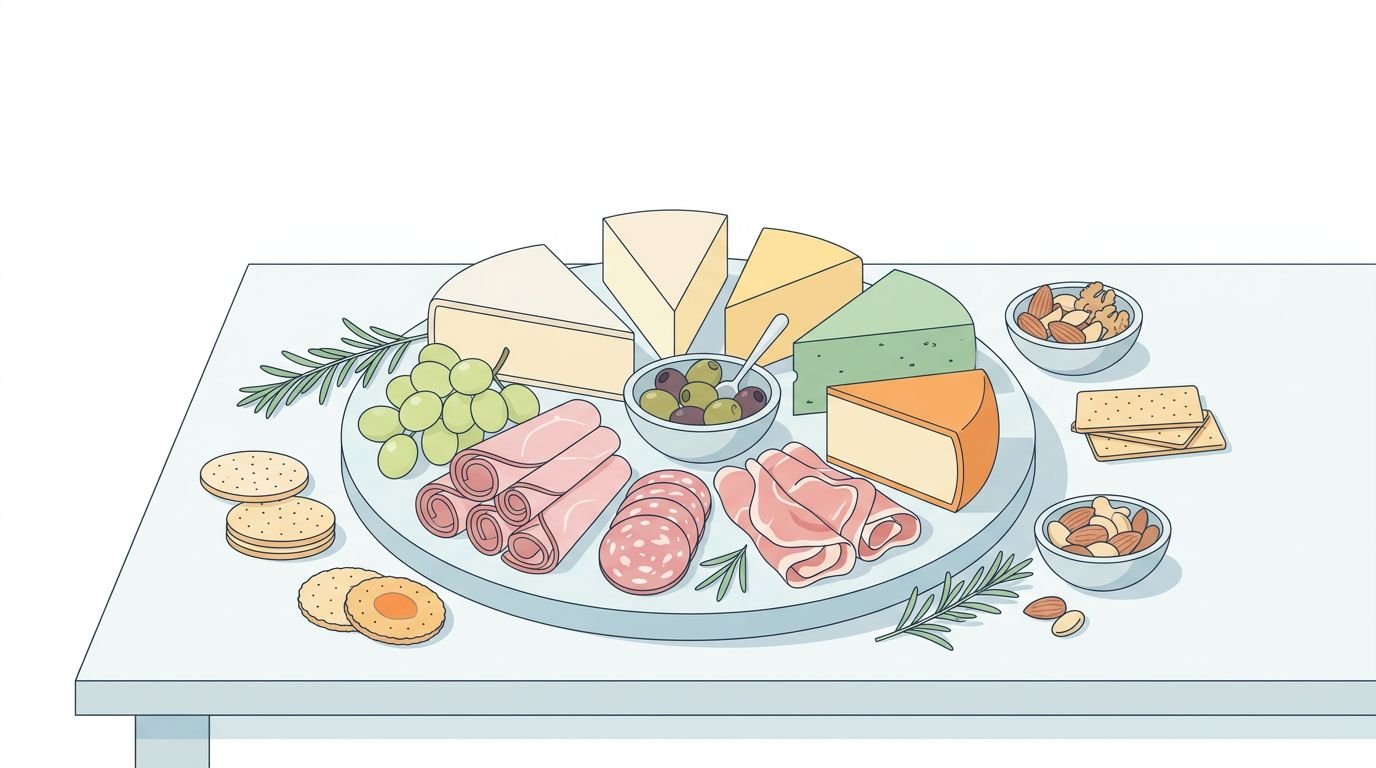
Creating a cheese board that stops conversation and makes guests lean in closer is easier than you think. Whether you're hosting a casual get-together or an elegant dinner party, a well-crafted cheese board serves as both conversation starter and centerpiece. The secret isn't expensive ingredients or culinary school training - it's understanding a few key principles about balance, presentation, and timing. A thoughtfully assembled board tells your guests you care about their experience, and the best part? Most of the work happens before they even arrive.
Understanding the 3-3-3-3 Rule
The foundation of any great cheese board starts with the 3-3-3-3 rule: three cheeses, three meats, three starches, and three accompaniments. This framework prevents both overwhelm and underwhelm, giving you enough variety to please different palates without turning your board into a chaotic mess.
For cheeses, think about texture and intensity. Start with a soft cheese like brie or goat cheese, add a semi-hard option such as gouda or manchego, and finish with either a hard aged cheddar or a bold blue cheese. This progression takes guests on a flavor journey from mild to intense. When selecting meats, prosciutto, salami, and a dried chorizo offer complementary textures and salt levels that enhance rather than compete with your cheese selections.
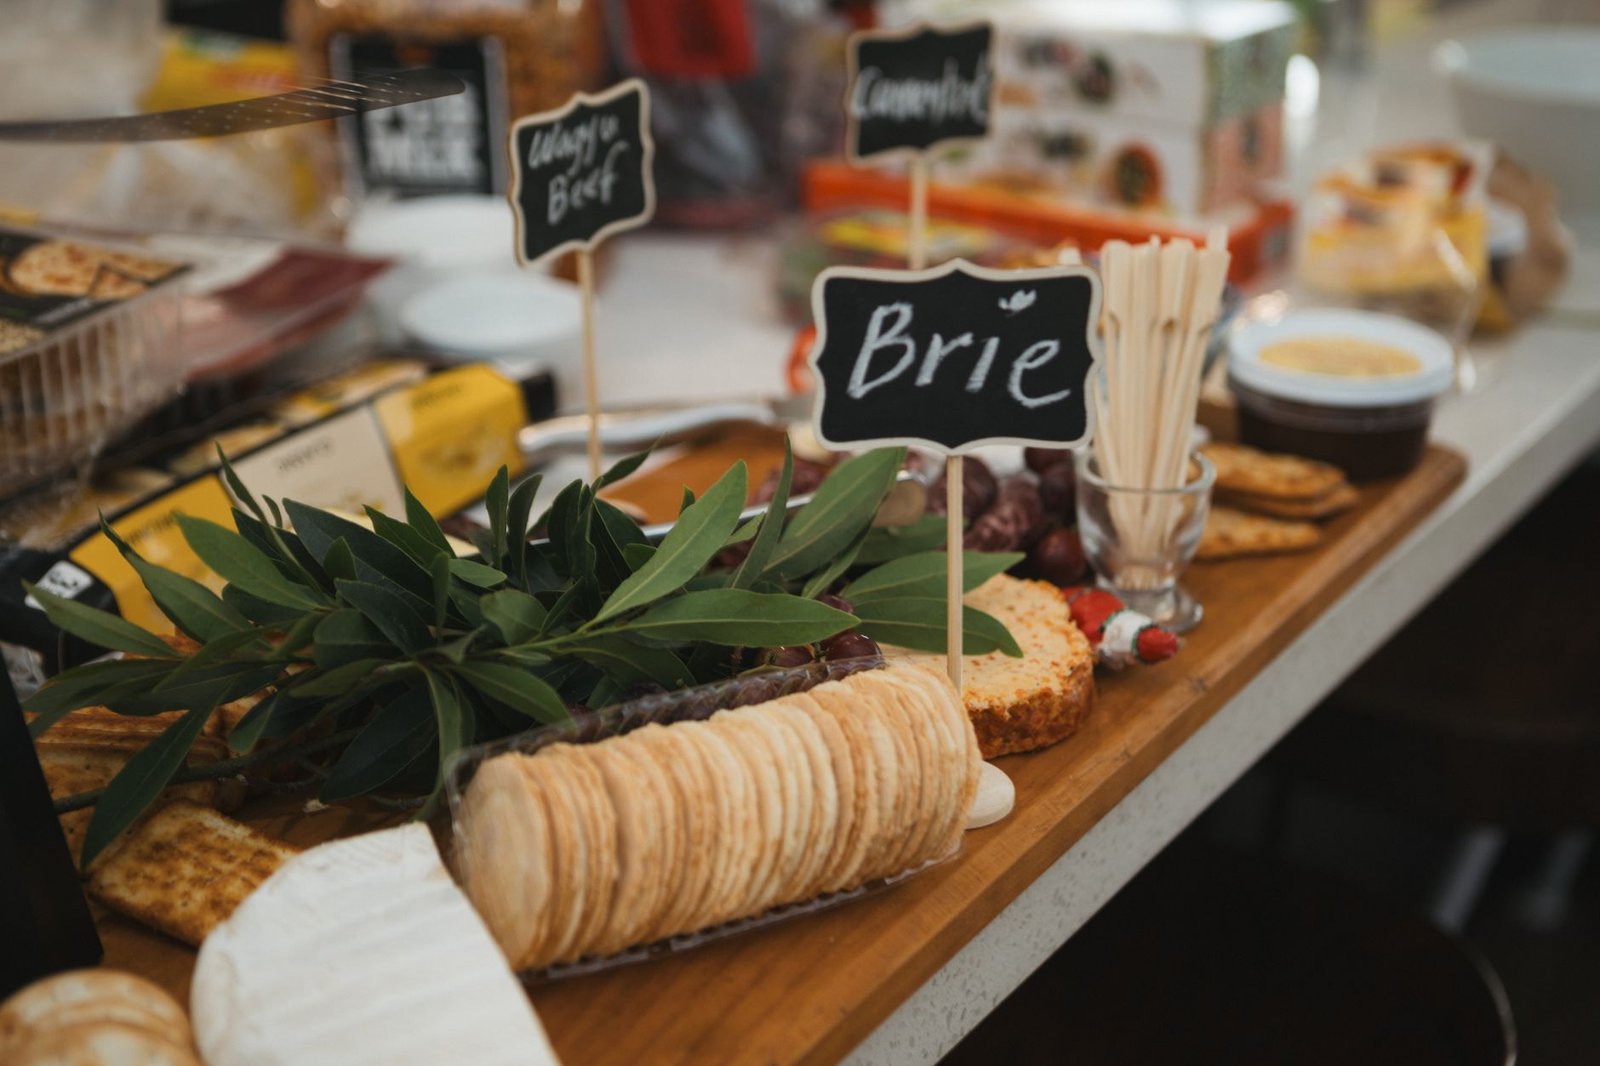
Your three starches provide the vehicle. Classic water crackers let the cheese shine, but don't stop there. Add a seeded cracker for texture and perhaps some sliced baguette toasted with olive oil. The accompaniments are where you can get creative - fig jam pairs beautifully with blue cheese, whole grain mustard cuts through rich meats, and honey drizzled over aged cheddar creates magic. Fresh or dried fruit, olives, and pickled vegetables round out the selection.
💡 Pro Tip: Remove your cheese from the refrigerator 30 to 45 minutes before serving. Cold cheese tastes flat and muted - room temperature releases the complex flavors and aromas that make each variety special. Set a phone timer so you don't forget.
Building Your Board Like a Pro
The physical construction of your cheese board matters as much as what goes on it. Start with your largest items - the cheeses - and place them first. Don't line them up in a boring row. Instead, scatter them across the board at different angles, creating visual interest and natural pathways for guests to explore.
Slice some cheese ahead of time but leave some whole. A wedge of cheese with a small knife beside it invites interaction, while pre-sliced portions help shy guests who don't want to be the first to cut. For soft cheeses like brie, consider cutting one small wedge out to show people it's ready to eat and to reveal that creamy interior.
Next, add your meats. Don't just lay them flat - that's boring and they stick together. Try folding salami into quarters, rolling prosciutto into loose ribbons, or creating small piles with height. This adds dimension and makes the board feel abundant. Tuck meats into the spaces between cheeses, creating pockets of color and texture.
Now fill gaps with your starches and accompaniments. This is where the board goes from good to stunning. Small bowls work well for wet items like olives, jams, and honey - they contain the mess and add height variation. Scatter crackers in small stacks throughout the board rather than piling them all in one spot. Fill any remaining spaces with nuts, dried fruit, or fresh grapes. The goal is a board so full that you can barely see the surface beneath.
💡 Pro Tip: Use fresh herbs like rosemary sprigs or thyme to fill small gaps and add color. They're edible, beautiful, and make your board look like it came from an expensive catering company. Plus, they smell amazing when guests lean in close.
Choosing the Right Cheese Varieties
A well-rounded cheese board typically features three to five different types of cheeses. More than five overwhelms guests with choices, while fewer than three feels skimpy. The key is offering distinct flavor profiles and textures so each cheese has its moment to shine.
Soft cheeses provide creamy, spreadable luxury. Brie and camembert are crowd-pleasers with their buttery interiors and edible rinds. Goat cheese offers tangy brightness that cuts through richer flavors on the board. If you want to impress, try a burrata or triple-cream cheese, though these work better for smaller gatherings since they don't hold up long at room temperature.
Semi-hard cheeses like gouda, havarti, or manchego provide the middle ground. They're approachable for cheese novices but interesting enough for enthusiasts. Aged gouda develops caramel notes and crunchy protein crystals, while manchego's nutty flavor pairs perfectly with membrillo (quince paste). These cheeses also slice beautifully and hold their shape on the board.
Hard cheeses anchor the selection. A good aged cheddar, parmigiano-reggiano, or aged gruyere adds sharp, complex flavors that develop on your palate. These cheeses should be broken into chunks rather than sliced - it's more rustic and authentic. Blue cheese deserves special mention as the wild card. Not everyone loves it, but those who do will be thrilled to see a creamy gorgonzola or bold stilton on your board. Place it on the edge so blue-cheese-avoiders can easily skip it.
Seasonal Variations and Special Touches
The best cheese boards evolve with the seasons, reflecting what's fresh and what mood you want to create. Summer boards lean lighter with fresh fruits - berries, melon, and stone fruits add juicy brightness. Include lighter cheeses like fresh mozzarella or a young pecorino, and consider adding fresh vegetables like cherry tomatoes or cucumber slices for crunch.
Fall and winter boards go richer and more substantial. Swap fresh fruit for dried figs, apricots, and dates. Add candied pecans or spiced nuts for warmth. This is the season for your most intense cheeses - aged cheddars, pungent blues, and cave-aged gruyere. Consider adding fall-specific accompaniments like apple butter, pumpkin seed crackers, or roasted chestnuts.
Special touches separate memorable boards from forgettable ones. Label your cheeses with small tags or a nearby card - guests appreciate knowing what they're eating and it sparks conversation. Provide separate knives for each cheese to prevent flavor mixing. Add unexpected elements like honeycomb (the waxy, edible kind), marcona almonds, or a specialty item from your recent travels. These personal touches show thoughtfulness and give you stories to share.
Temperature matters beyond just the cheese. If serving outdoors in summer, keep the board in shade and don't assemble it too early. Winter gatherings near a fireplace require the opposite consideration - keep the board away from direct heat to prevent cheese from becoming oily or meats from drying out.
Conclusion
A cheese board is an investment in your gathering's atmosphere and your reputation as a host. The 3-3-3-3 rule gives you a foolproof framework, while understanding cheese varieties and presentation techniques lets you customize based on your guests and occasion. Remember that perfection isn't the goal - abundance, variety, and thoughtfulness are what guests remember. Your cheese board doesn't need to look like a magazine spread, it needs to taste incredible and make people feel welcomed. Start with quality ingredients, give yourself enough time to assemble without rushing, and don't forget that 30-45 minute rest period for the cheese. The confident host who can explain why they chose each element and suggest pairings creates an experience, not just a snack. Once you master these basics, you'll find yourself volunteering to bring the cheese board to every gathering because you know yours will be the one everyone crowds around.
FAQs
How much cheese do I need per person?
Plan for 2-3 ounces of cheese per person if the board is an appetizer before a meal, or 4-5 ounces per person if it's the main event. For a party of eight, that means roughly 1.5-2 pounds of cheese total across your three to five varieties. It's better to have leftovers than to run out - cheese keeps well and guests tend to eat more than you expect once they start.
What's the best board or surface to use?
Wood cutting boards provide classic warmth and won't break if dropped. Slate or marble looks elegant and keeps cheese cool, though it's heavy and can crack. Large ceramic platters work well for smaller gatherings. The size matters more than material - you need enough space that items aren't piled on top of each other. A 12-16 inch board works for four to six people, while gatherings of eight or more benefit from an 18-20 inch surface.
Can I make a cheese board ahead of time?
You can prep components several hours ahead, but assemble the board no more than one hour before guests arrive, then refrigerate it. Remove it 30-45 minutes before serving so cheese reaches room temperature. Pre-slice some cheese and portion out accompaniments into small containers so final assembly takes just minutes. Items like crackers and bread can dry out if left exposed too long, so add these last.
What if I have guests with dietary restrictions?
Cheese boards are naturally gluten-free except for crackers and bread, so offer gluten-free alternatives. For dairy-free guests, high-quality nut-based cheese alternatives now exist, though you might be better off creating a separate small board with hummus, vegetables, and dairy-free crackers. Always ask about allergies beforehand - nuts are common cheese board additions but serious allergens for some people.
How do I keep costs reasonable?
Skip the specialty cheese shop for your first few boards - grocery store cheese counters offer quality options at better prices. Buy one special cheese and fill out with affordable classics like a good aged cheddar and brie. Crackers in bulk from warehouse stores cost a fraction of boutique versions. Make your own toasted baguette slices instead of buying artisan crisps. Focus your budget on cheese quality and fill gaps with inexpensive items like grapes, which look abundant but cost little.